Although the current mobile phones have the effect of beautifying the face, they are far from satisfying people's love of beauty. We often encounter situations where we need to use photo retouching. Many people who know PS can easily make their photos beautiful. They can win everyone's envy on social software. So how can people who do not know PS retouch photos? Today, let's teach you how to quickly use PS to change clothes for characters. After reading this skill of retouching pictures with PS, you can become a master of retouching pictures.
First, prepare two material pictures. One is the photo you want to retouch. And the other is the material picture you want to achieve the above effect. That is to say, one is a photo of yourself and the other is a photo of the clothes you want to wear. The specific operation steps are as follows.
1. Open PS and create a new canvas. You can press the shortcut key Ctrl + N to complete the new creation. At this time, the pixels should be larger. Then choose a transparent background.
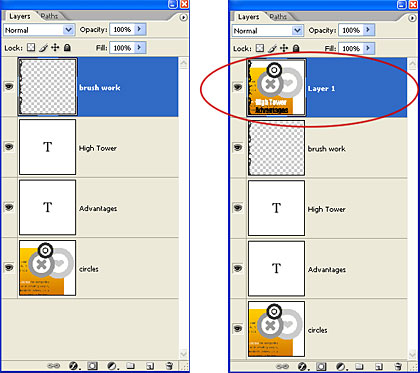
2. Drag the two pictures into the canvas. Select the second picture and use the Pen Tool to select the clothes you want to use. Finally, right-click the right mouse button in the selection area, and then click Make Selection. In the new pop-up dialog box, set the feather radius. Generally, the pixel is set to 0. Then click OK. The feather effect is realized. Then press Ctrl + C and Ctrl + V to complete the creation of clothing layer.
3. After finishing the first two steps, click the Move icon in the toolbar in the upper left corner of the PS interface. Drag the clothing layer onto the left picture. Then press Ctrl + T to resize the clothes to achieve the effect of covering the clothes on the left.
4. Click the Edit button on the toolbar, and then select Control Deformation. After that, put the mouse on the clothes and click the left key. Fix places that do not need deformation. Drag the place that needs to be deformed and adjust the uncovered part of the clothes to the appropriate position.
5. Click Enter when you are done. Then modify the edge of the picture and save it as a picture format. Such a photo of changing clothes is completed.

After reading here, I believe everyone knows how to quickly use PS to change clothes for characters. In fact, it is not as complicated as everyone thinks. As long as you master the operation steps skillfully, you can change clothes for the characters. If you like to challenge yourself, you can open your PS and try it! Of course, you must first install PS software on your computer!


