
The yellowed old photos in the drawer are all specimens of time. However, after years of waste. Many old photos have been damaged and the above pictures are blurred. How can we repair them?
Some time ago, PS repaired the old photos of the fire. I wonder if you still have any impression? Let’s take a look at how to use PS to repair seriously damaged photos. In addition to using PS to adjust the effect of photos. We can use PS to repair damaged old photos of a certain age.
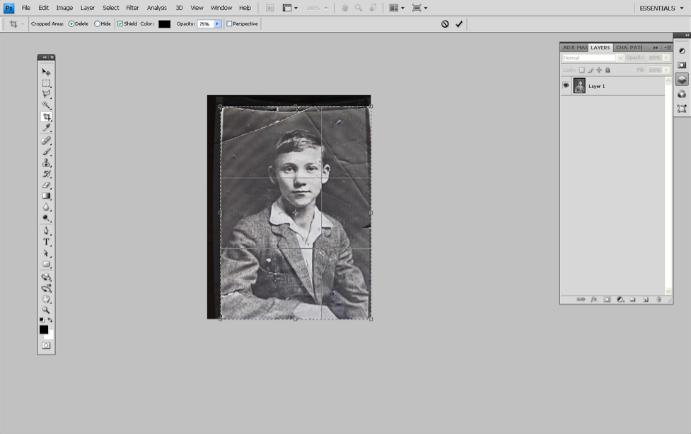
1. First of all, the fragments should be separated into separate layers. This can facilitate the next splicing. Enlarge the image, use the polygon lasso tool to select the fragments along the edge of the fragments. And press Ctrl + J to copy the image of the selected area into a new layer. Then return to the background layer to select the next fragment. Then use Ctrl + J to place it on the new layer. We build each fragment of the photo into a layer. Double-click the layer name to give the layer an image name.
2. Click on the eye icon in front of the background layer to hide it. Press Ctrl + T, and apply free shift to them. The scanned draft of damaged photos often does not need to be scaled anymore. But it needs to be in a good position and angle. The simplest reference points for position and angle are the edge lines of the photo or the buildings in the photo, etc. After they are aligned, their angles are rotated to the same.
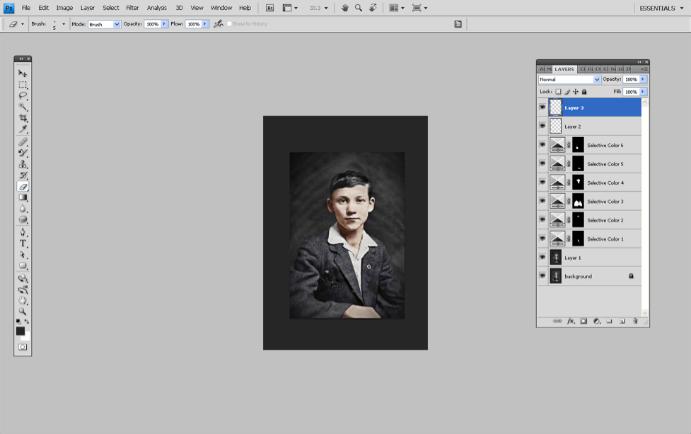
3. After the graphic alignment is completed, press Shift + Ctrl + E to merge all visible layers. Press Shift + Ctrl + U to decolor the photo.
4. Then you can start the repair work. Rename the spliced layer to “Repair Background” and create a new layer named “Overlay Layer”. Place the repaired figure on this new layer so that it covers the defect position below. Select the Imitation Stamp Tool in the toolbar. In the Properties menu bar. Set the sample to Current and Below Layers. In this way, when we repair, we can copy the lower image on the upper empty layer. Thus, achieving the purpose of repair. Press the ALT key, sample the surrounding area, loosen it. And smear it on the damaged area. The surrounding sample image can be covered at the damaged position.
Finally, the image can be completely repaired by using deepening and thinning tools and combining with brushes. In fact, this step depends entirely on the user’s artistic foundation. For those who have learned sketch, this is a very simple step. And the key point is to master the skills of using tools.
Deepening and lightening tools are exclusive tools used to deepen or lighten colors. Using them, you can modify the original image. It is suitable for building shadows and highlights. The Brush tool can be used to reconstruct the image of the completely damaged position.
Whether using deepening, fading tools or using brush tools. You should pay attention to adjusting the opacity of the brush to a lower state. To make better integration.
If you have an old photo that you want to repair, you can try the repair effect.


