I believe that most people know the software--PS. But in fact, many people don't know how to use it. As long as you learn some simple tips, you can solve many problems in life. For example, ID photos do not need to be taken at a photo shop every time. We can totally change the background image of the ID photo by using PS. If there’s an ID photo with a red background, we can change it to a blue background via PS. And we can change it to other colors as well. In addition to changing the background color, you can even perform a simple typesetting. In that case can make the photos look better. And the operation is very easy. Not only saves the effort of running a photo studio, but also save money. So, let’s come and learn.

1. Open the photo you need to change the background color, and then copy one layer first. Assuming that the background of the ID photo is blue, let’s learn how to change it to red.
2. You can choose the quick tool first to select the entire person on the ID photo. It is not necessary to use quick tools. Other tools such as pen tools or magnetic lasso tools are also possible. The point is to choose the whole person.
3. After the selection, usually the characters that you cut out will have some white edges appearing. What should I do at this time? It's very simple, just click to select, modify, and shrink.
4. The next step is to reverse the selection, hold down “shift+Ctrl+I”, and then click Fill. The color should be red.
5. At this time, the background color of the ID photo has changed to red.
6. In most cases, the details of hair will not be handled well at this time. But this is also a small problem. Just fix it. For example, using the smear tool, you can adjust the hair.
7. Basically, the hair part is done after application. This also means that the background has basically been changed successfully.
8. At this time, everyone can create another white canvas. The size is adjusted to the size of A4 paper. At the same time, a black canvas needs to be created. The size is 3.5*5.3 cm.
9. Drag the black canvas onto the white canvas and pull a reference line to determine the size.

10. Then drag the red background photo that you just processed into the black place again. And use “Ctrl+T” to adjust the size. At this time, you can see that the extra part overflows the reference line. Just use the rectangle tool to select, and then press and hold delete to delete.
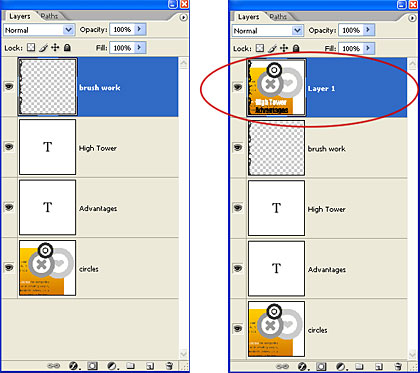
11. Now you can cancel the black background layer 1. Then press Alt and drag the red background photo to the right or down to drag the layout.
12. At this point, the layout has been completed. Now you can start printing. Click image-mode-CMYK mode.
The steps are actually very simple, just follow the whole process. I believe you have mastered that. You have already known how to use PS to change the background image of your ID photo.


